Jinnoro
Guides · Students · 6 min read
Set up a semester planner as a student
Turn a semester into a tidy tree of courses, with assignments, exams and campus life each in their place.
A semester is a lot of moving parts: four or five courses, each with readings, assignments and exams, plus clubs, a job and everything else. The trouble is rarely the work itself. It is remembering what is due, and where you wrote it down.
In this guide you will build one planner that holds all of it, in about ten minutes. You will see every deadline in one list, and open a course to see only that course.
Step 1
Make a folder for the semester and a project for each course
Press the + next to Projects and create a project called Fall semester. Then create one project per course and choose Fall semester in the Inside field. Give each a color and an icon so you can find it at a glance.
A project that has subprojects is a folder: it holds no tasks of its own, and its page shows the tasks from every course inside it. That makes Fall semester your one page for everything due this term.
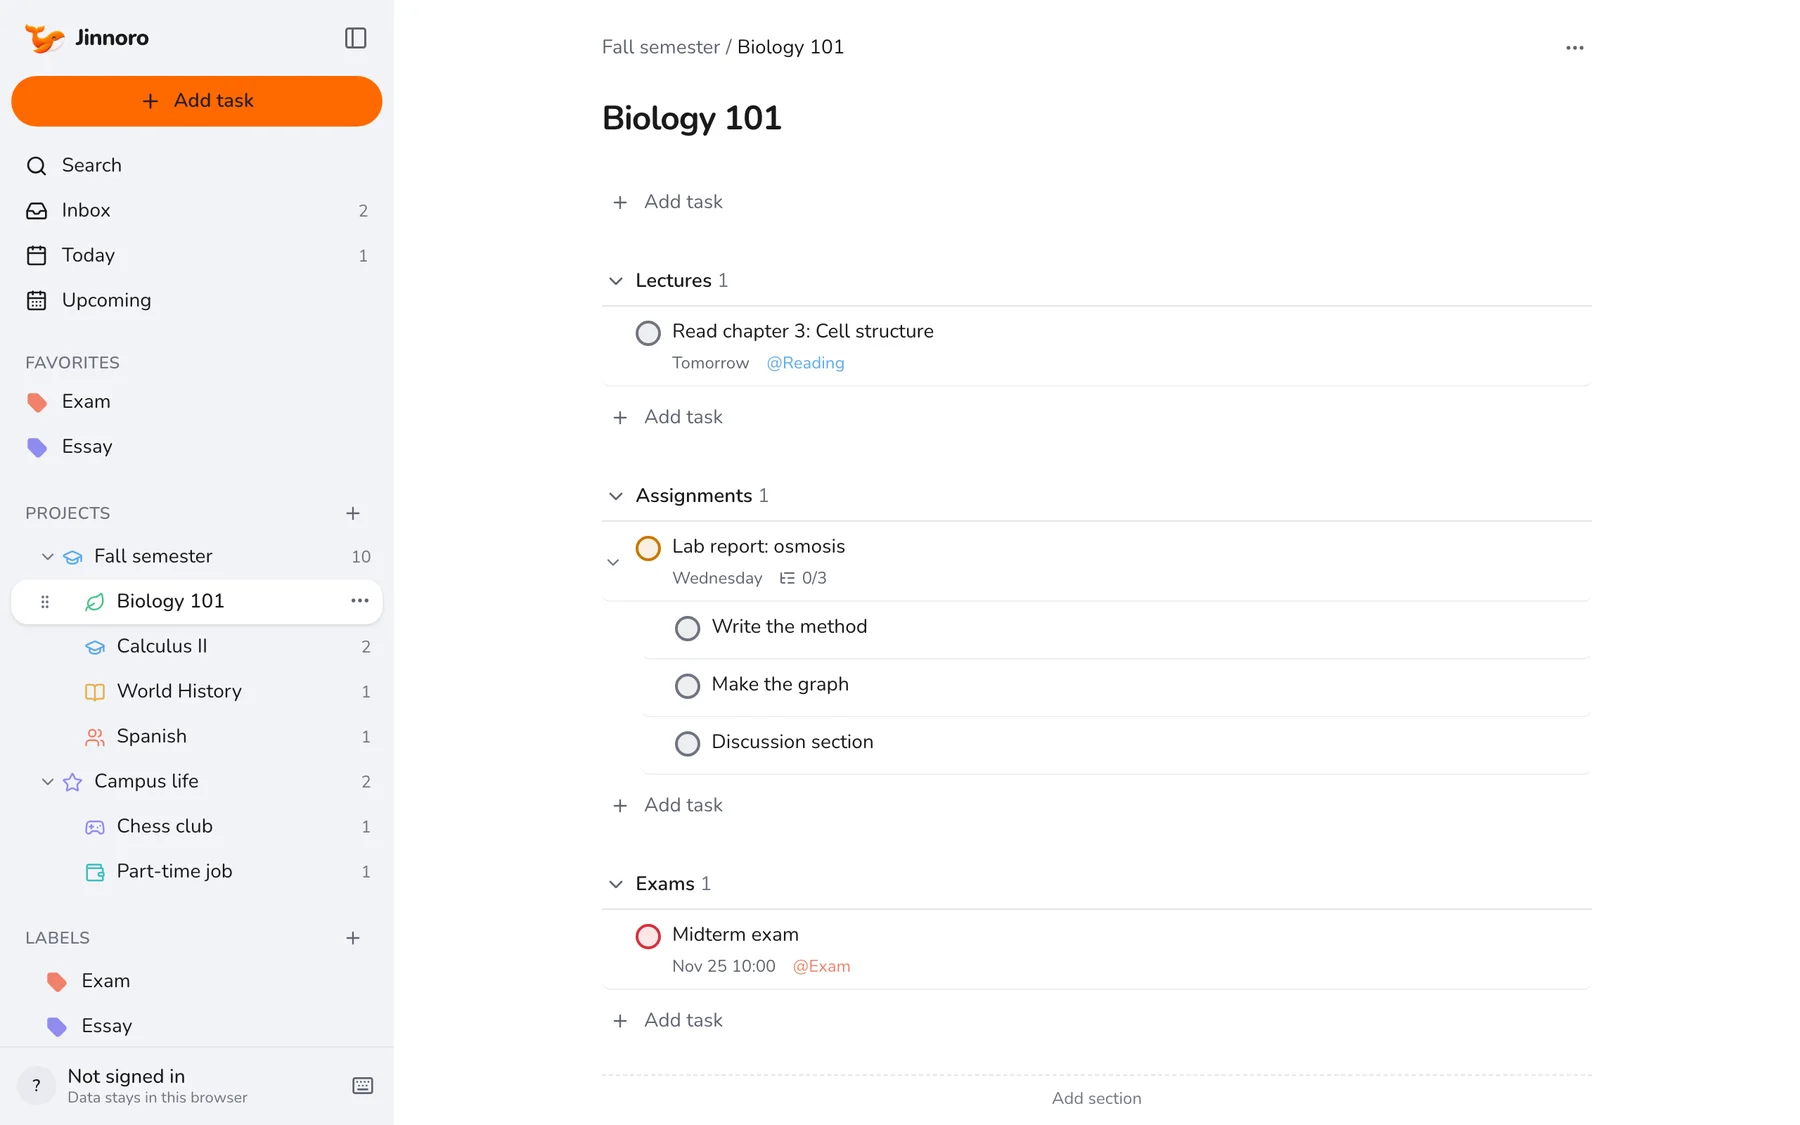
Tip. Keep a second folder for life outside class, such as clubs and a part-time job, so they never get lost between courses.
Step 2
Split a busy course into sections
Open a course and choose Add section at the bottom of the page. A good starting set is Lectures, Assignments and Exams. Sections are just headings on the course page, so adding or renaming them is never a big decision.
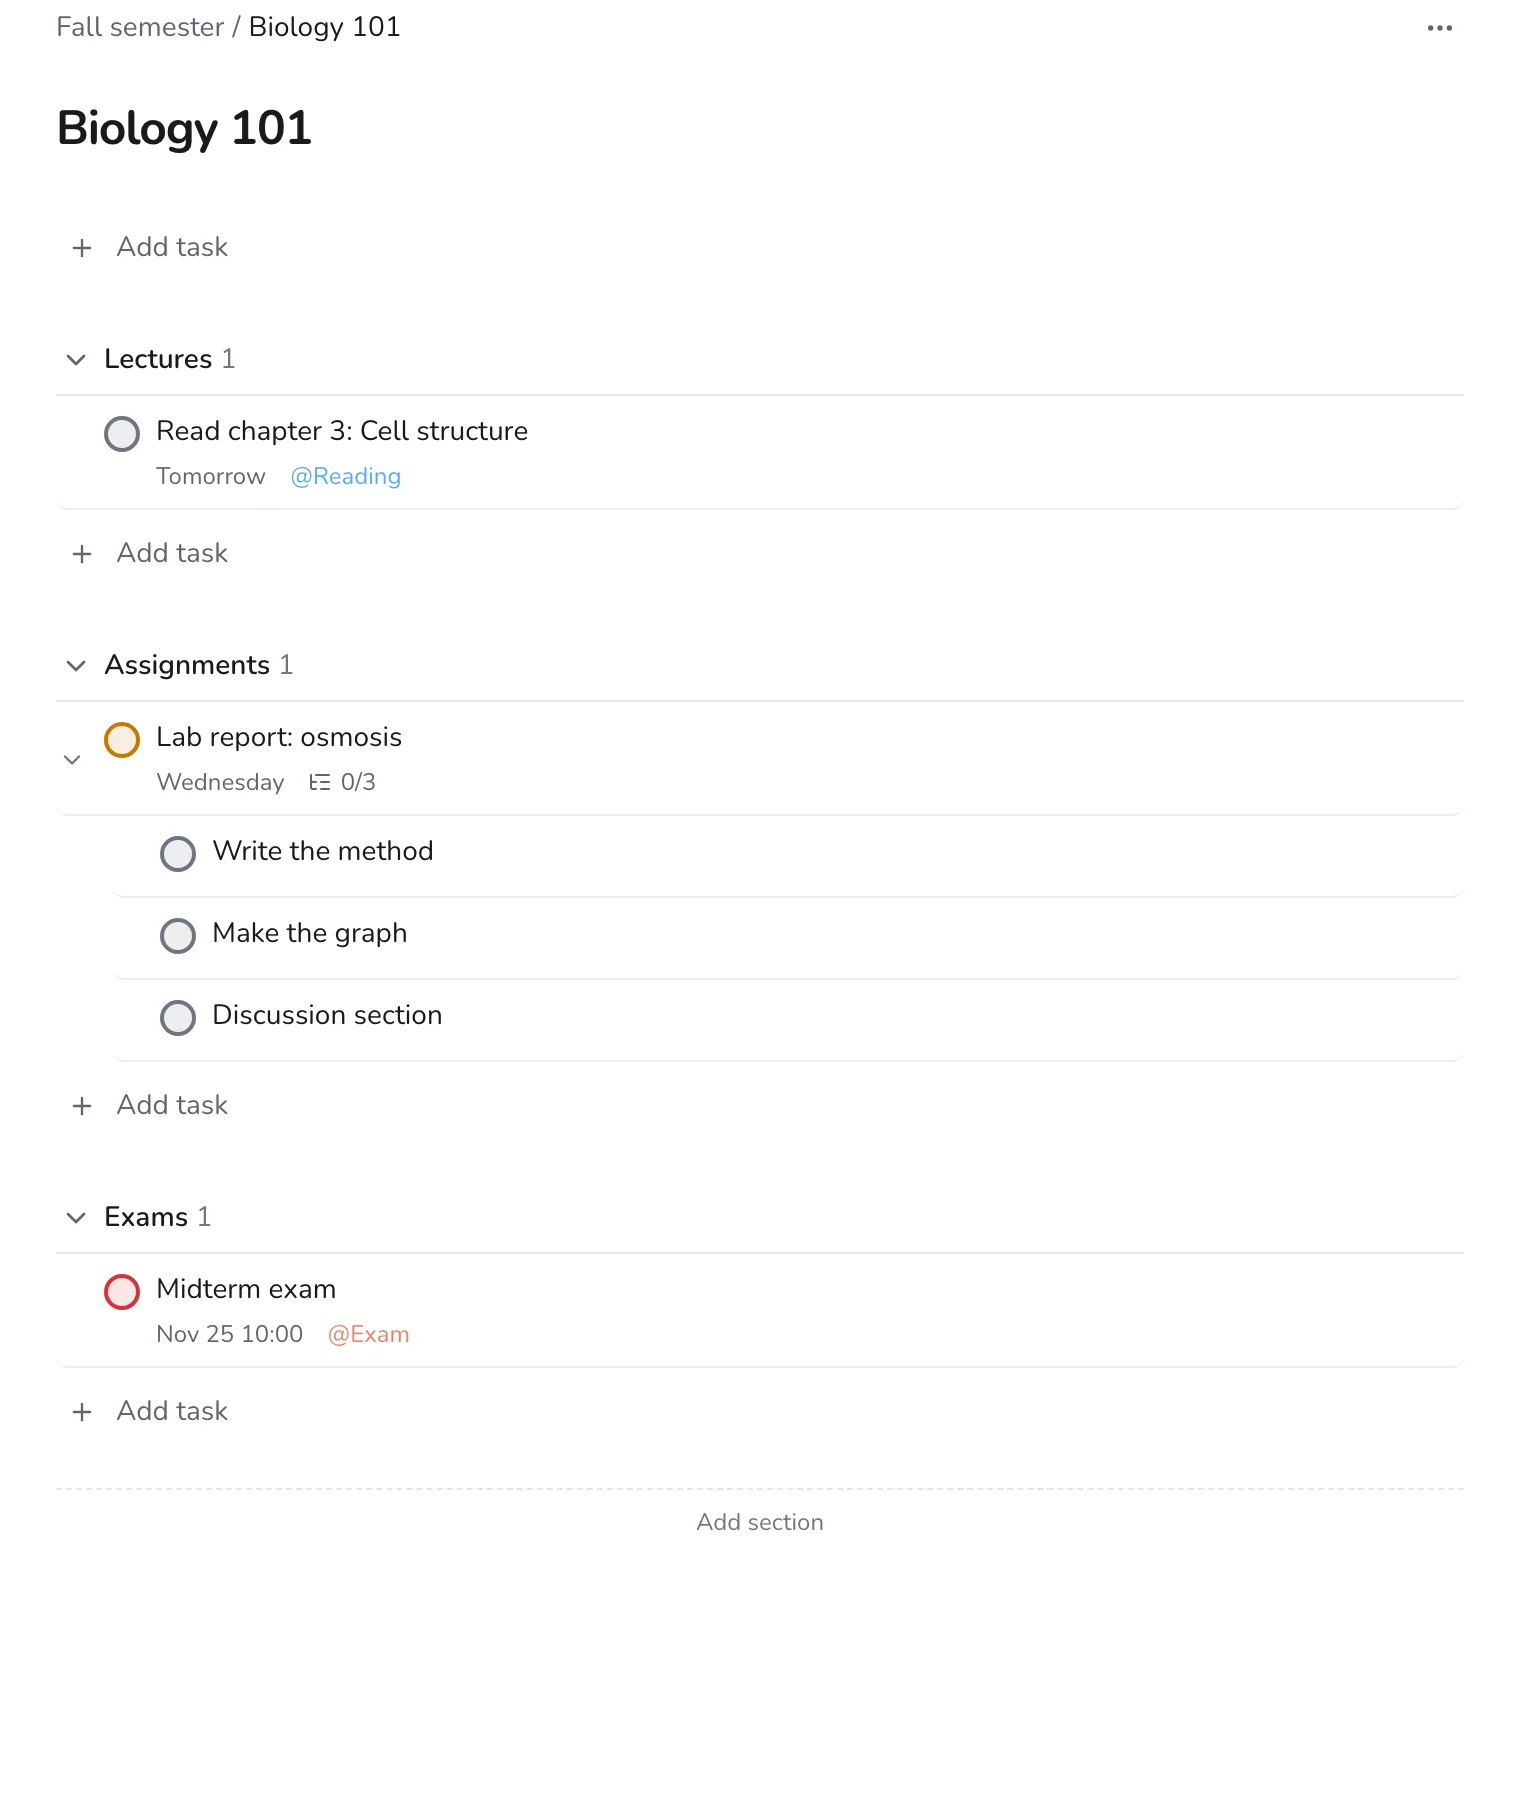
When an assignment is large, open it and add subtasks: write the method, make the graph, write the discussion. Each step can be checked off on its own, and you see progress as 0/3 next to the task.
Step 3
Add tasks with dates the fast way
Press Q anywhere in the app to open Quick Add. Type the task the way you would say it, and Jinnoro picks out the project, the date and the priority as you type.
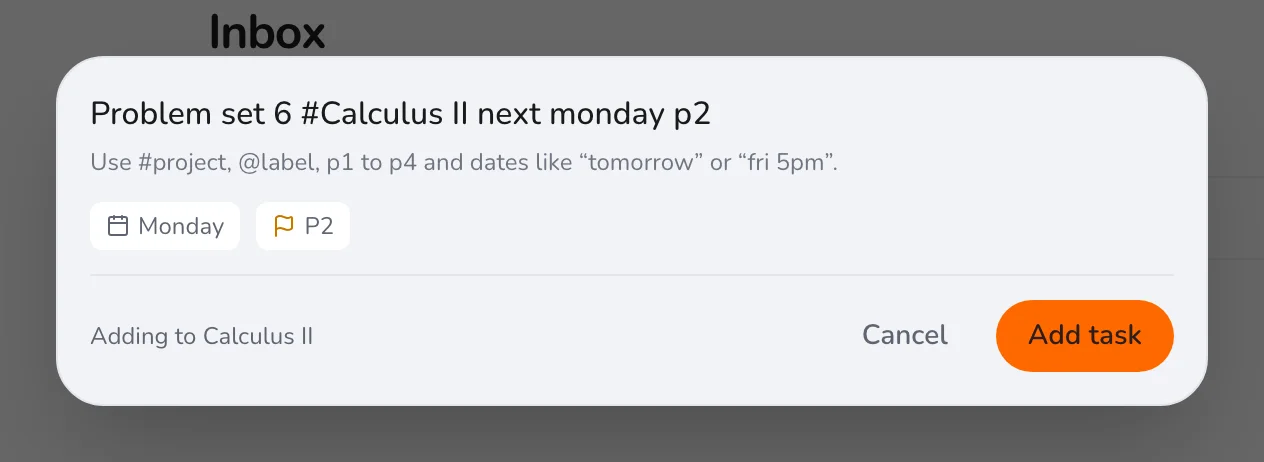
#Calculus IIputs it in that course.next monday,friday 5pmorin 3 dayssets the date.p1top4sets the priority, withp1the most urgent.
Step 4
Check Upcoming every Sunday
Upcoming lists every dated task from every course, day by day. A quick look on Sunday evening tells you what the week holds, and which days are crowded enough that you should start something early.
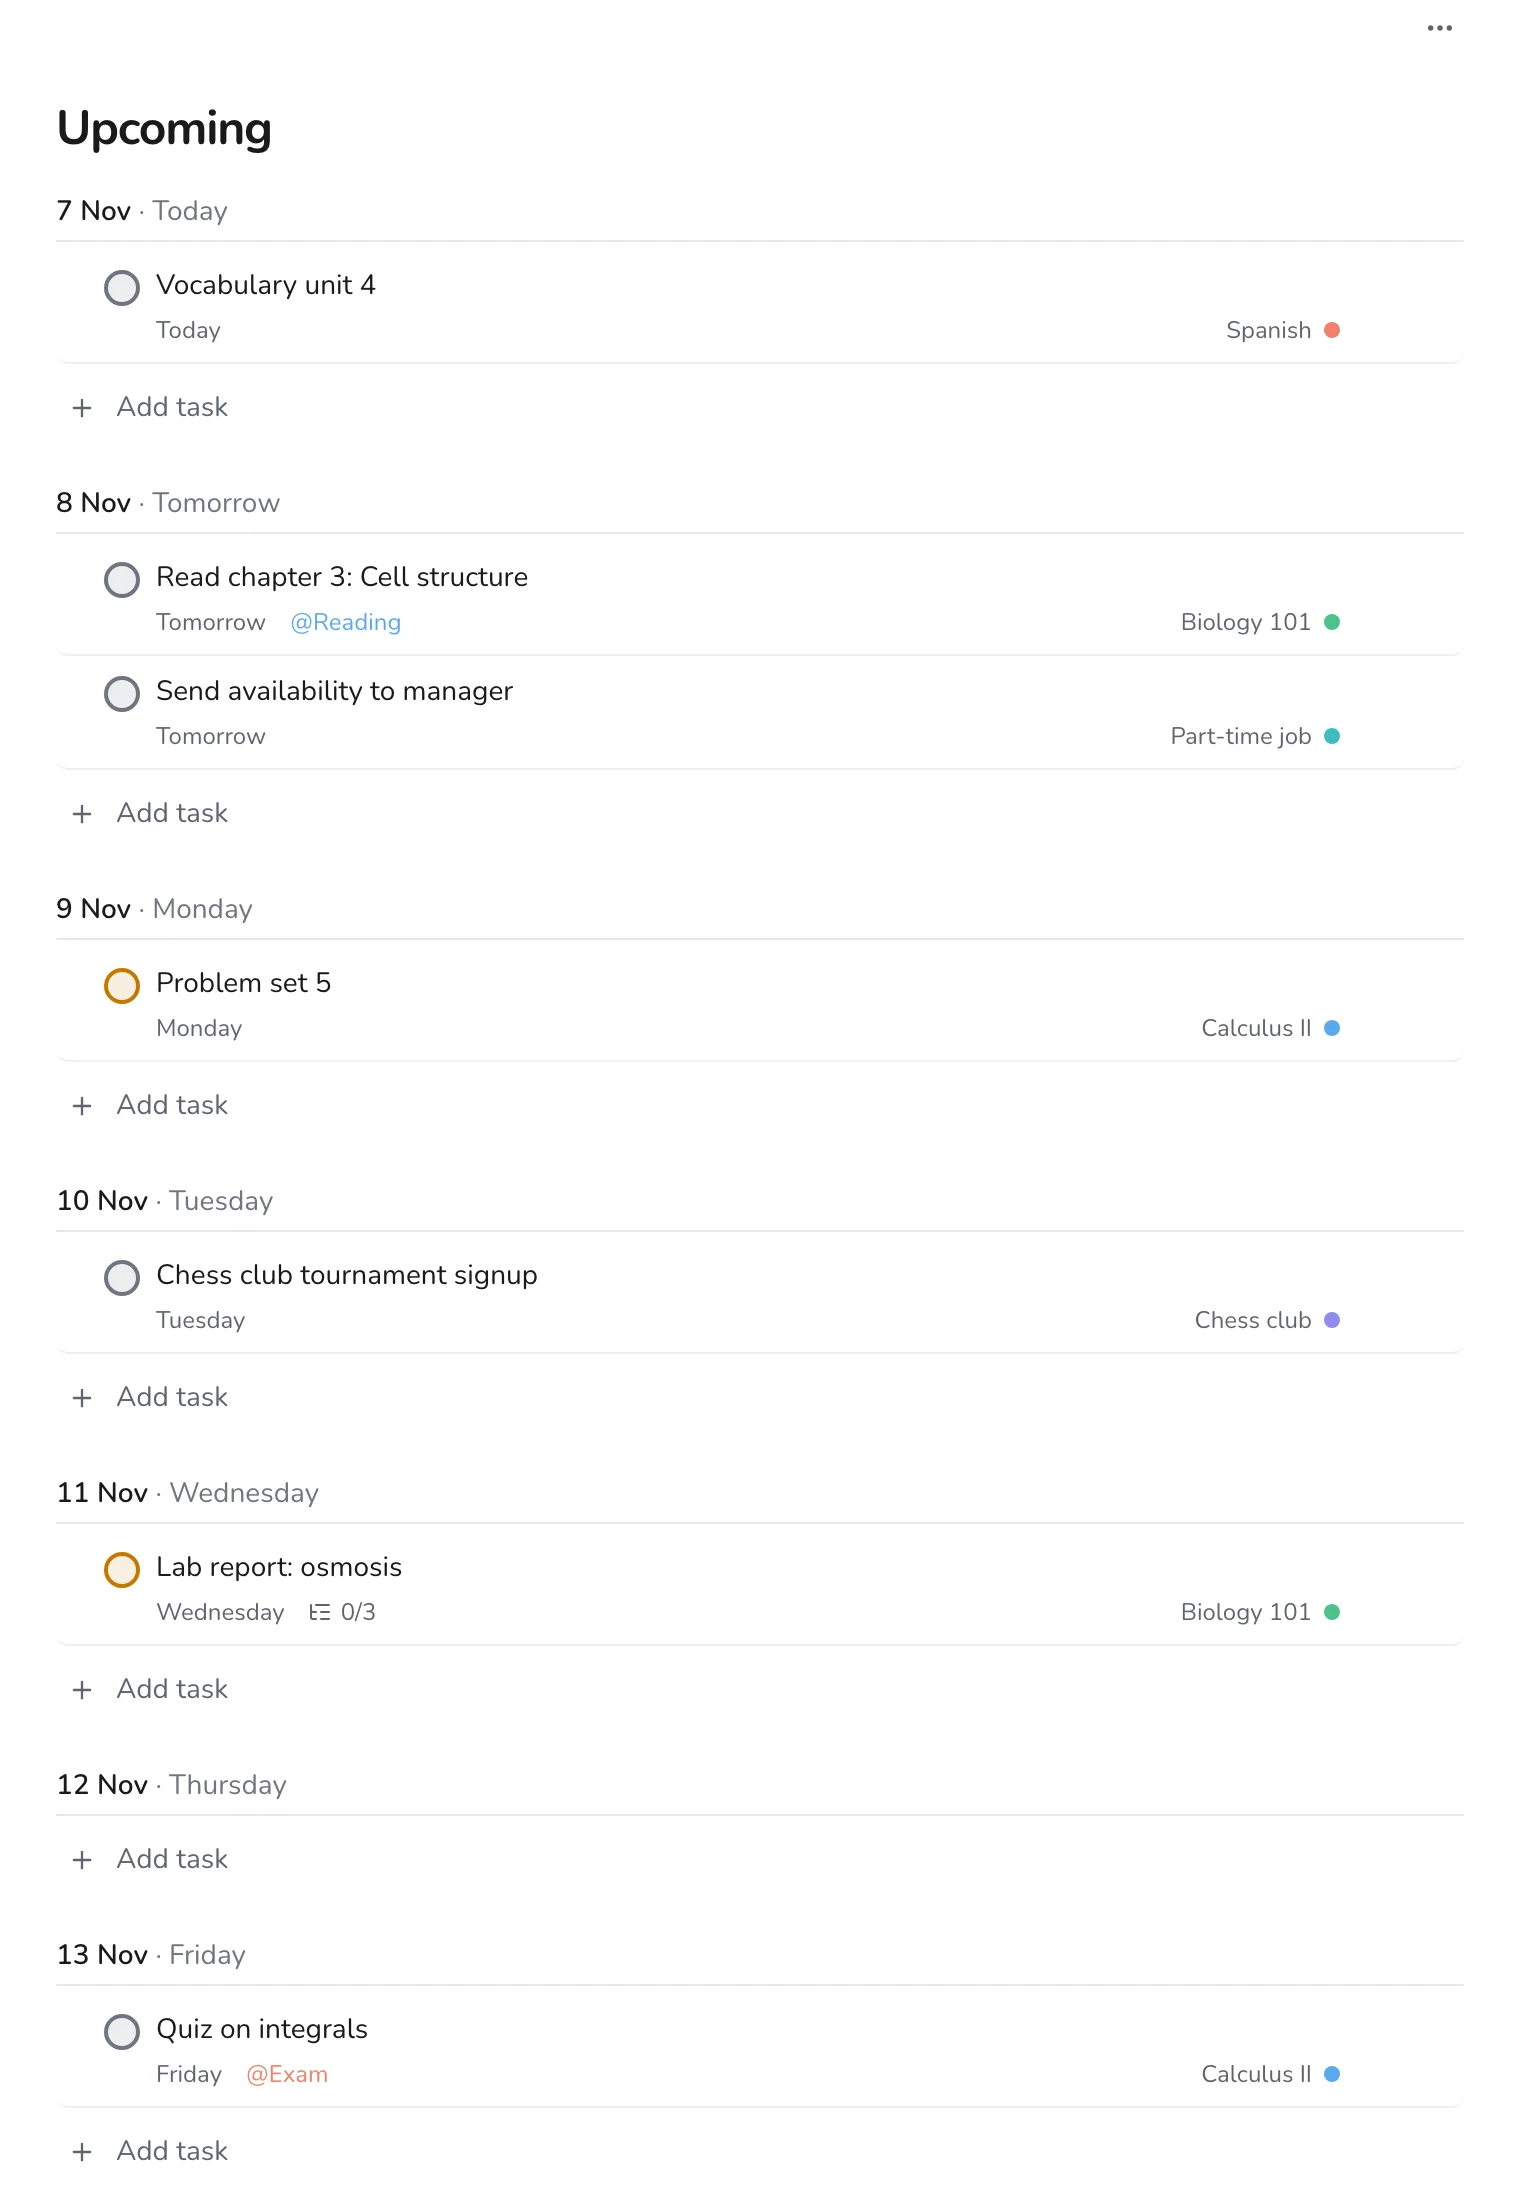
Anything that is not due on a particular day, such as a book to buy or an email to send, can sit in the Inbox until you decide what to do with it.
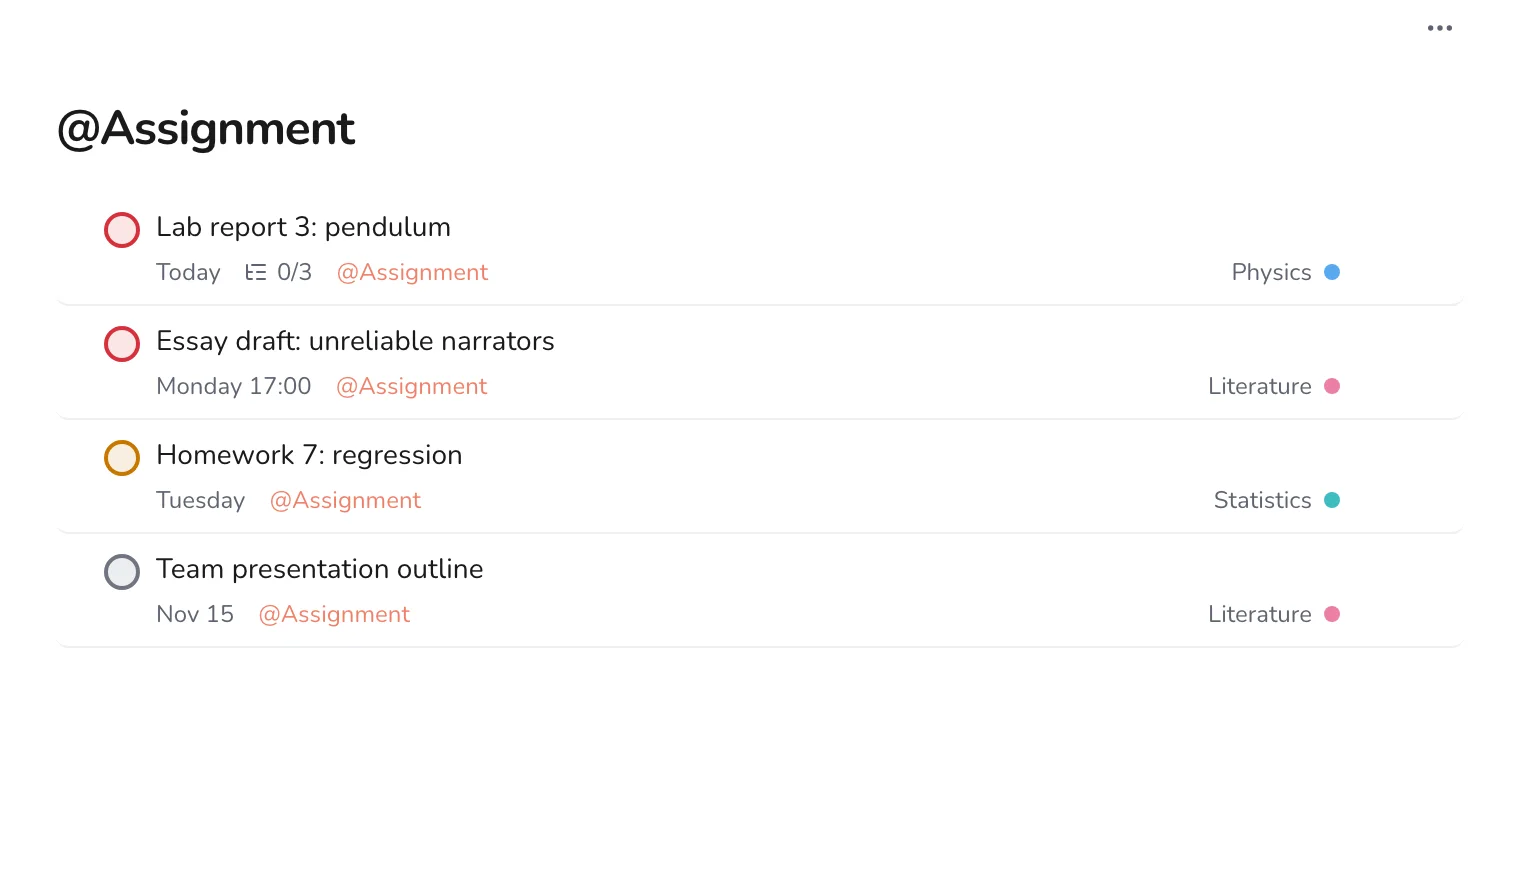
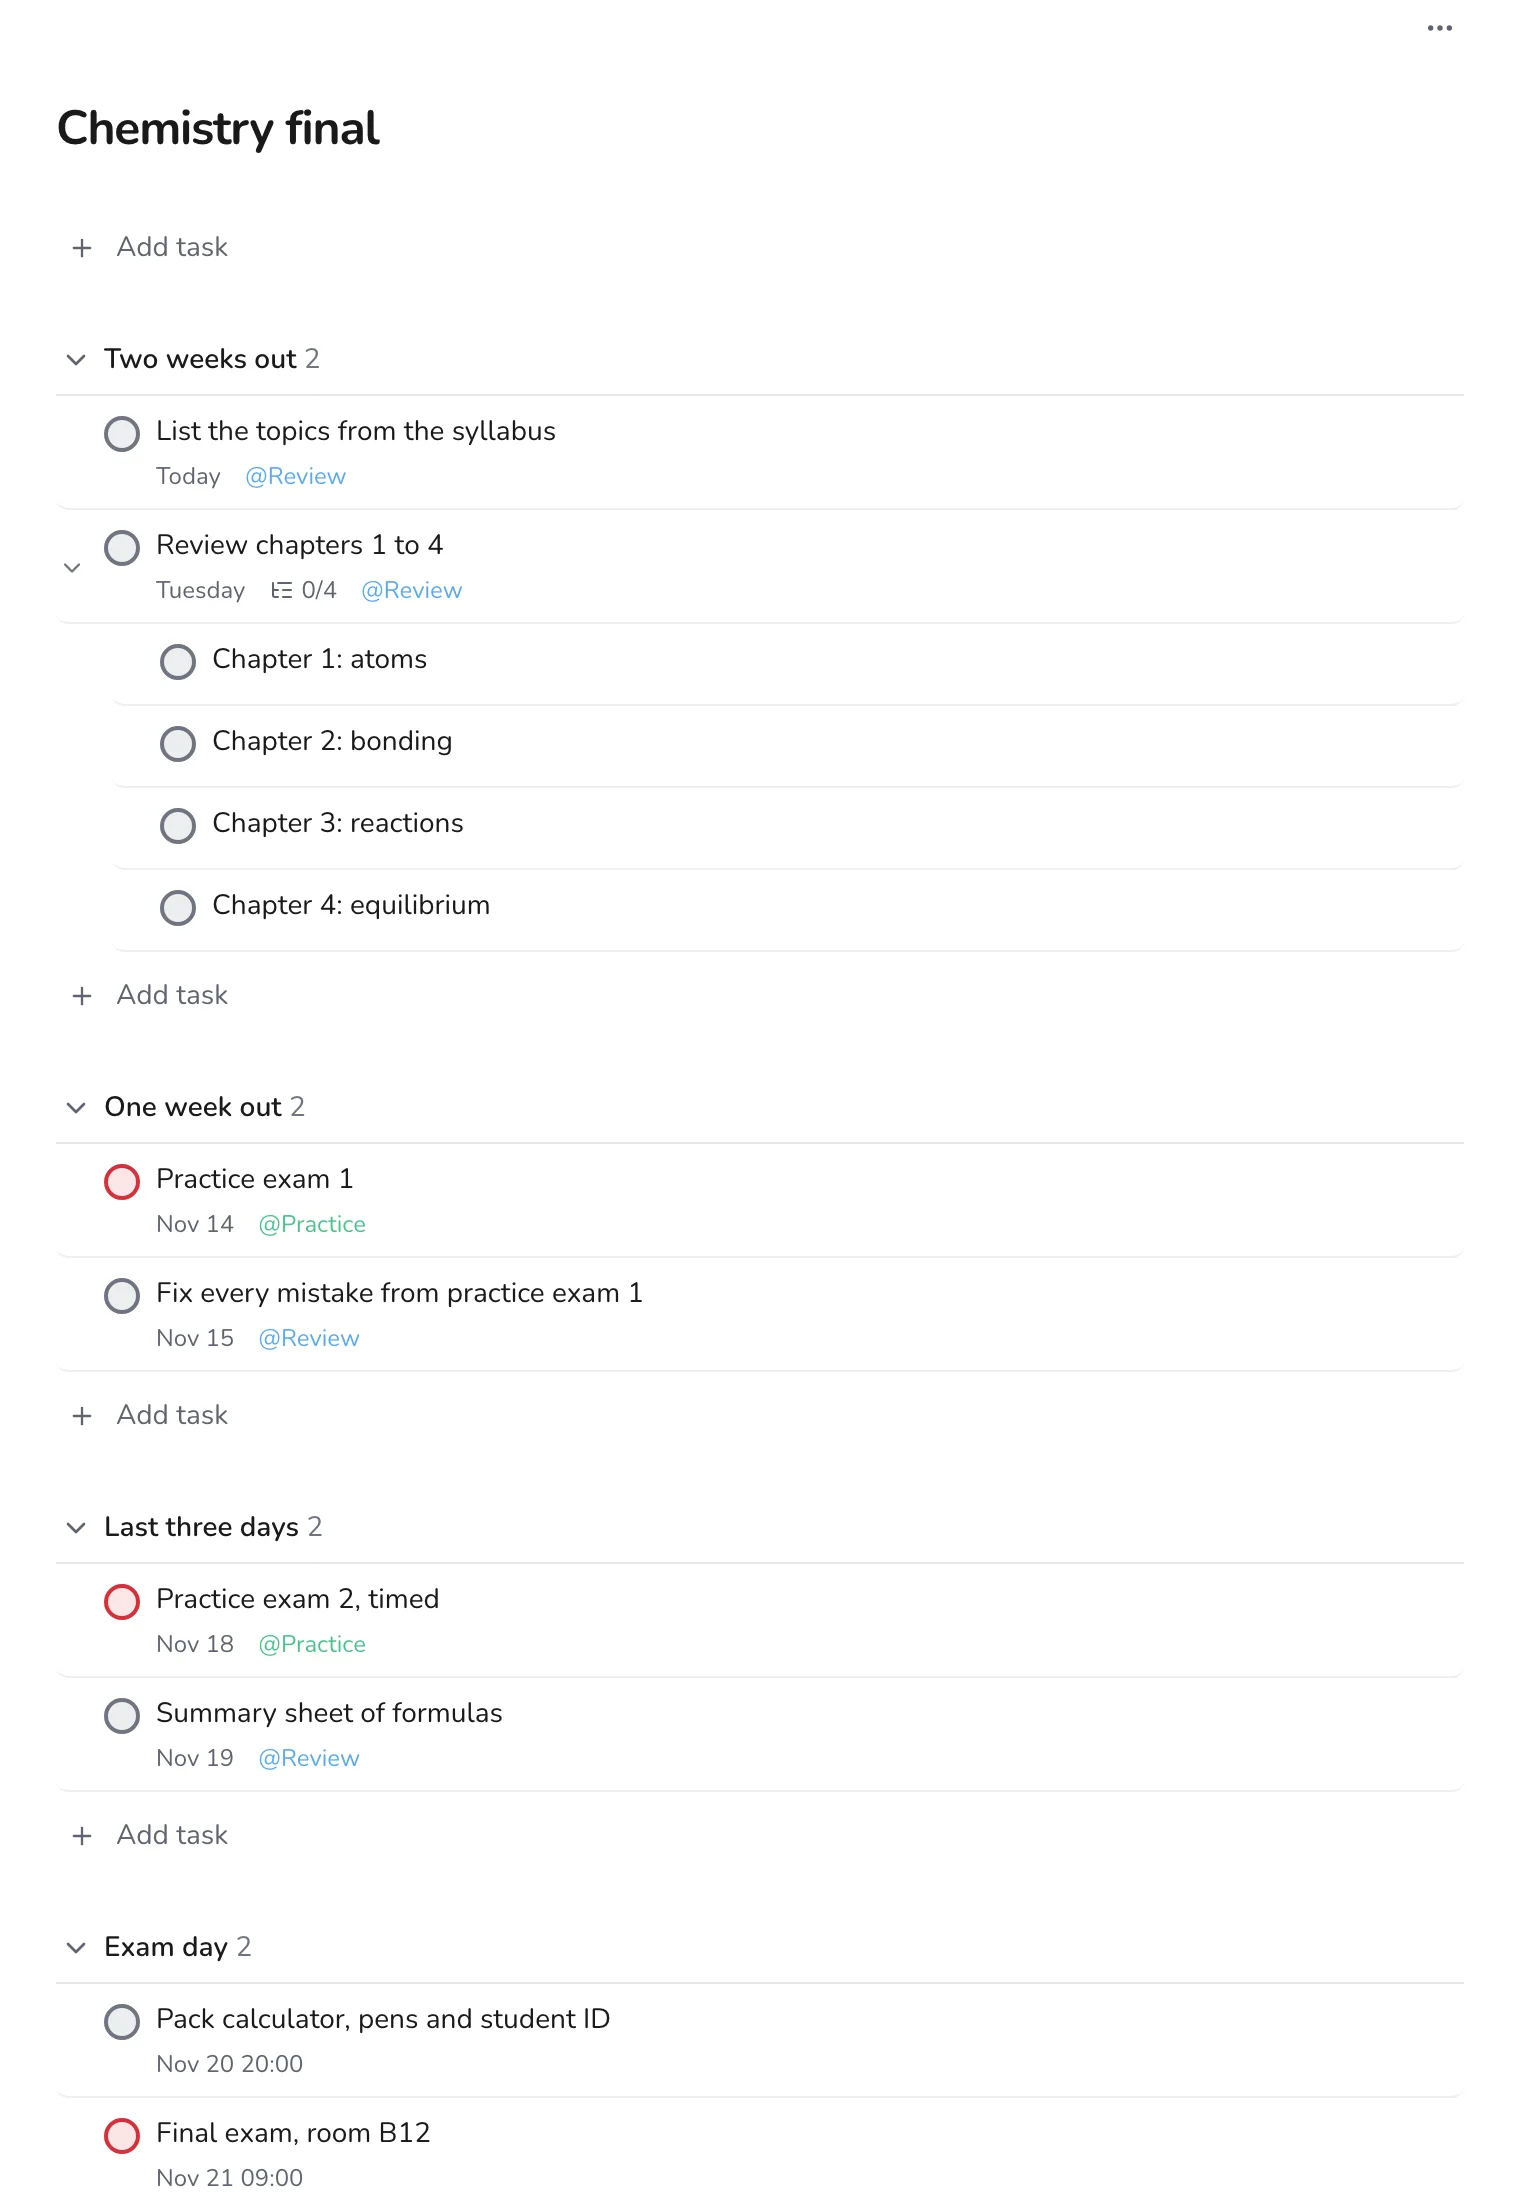
That is the whole setup: a folder, a project per course, sections where they help, and dates on everything that has a deadline. Next, read about tracking assignments across every course or planning for an exam.